


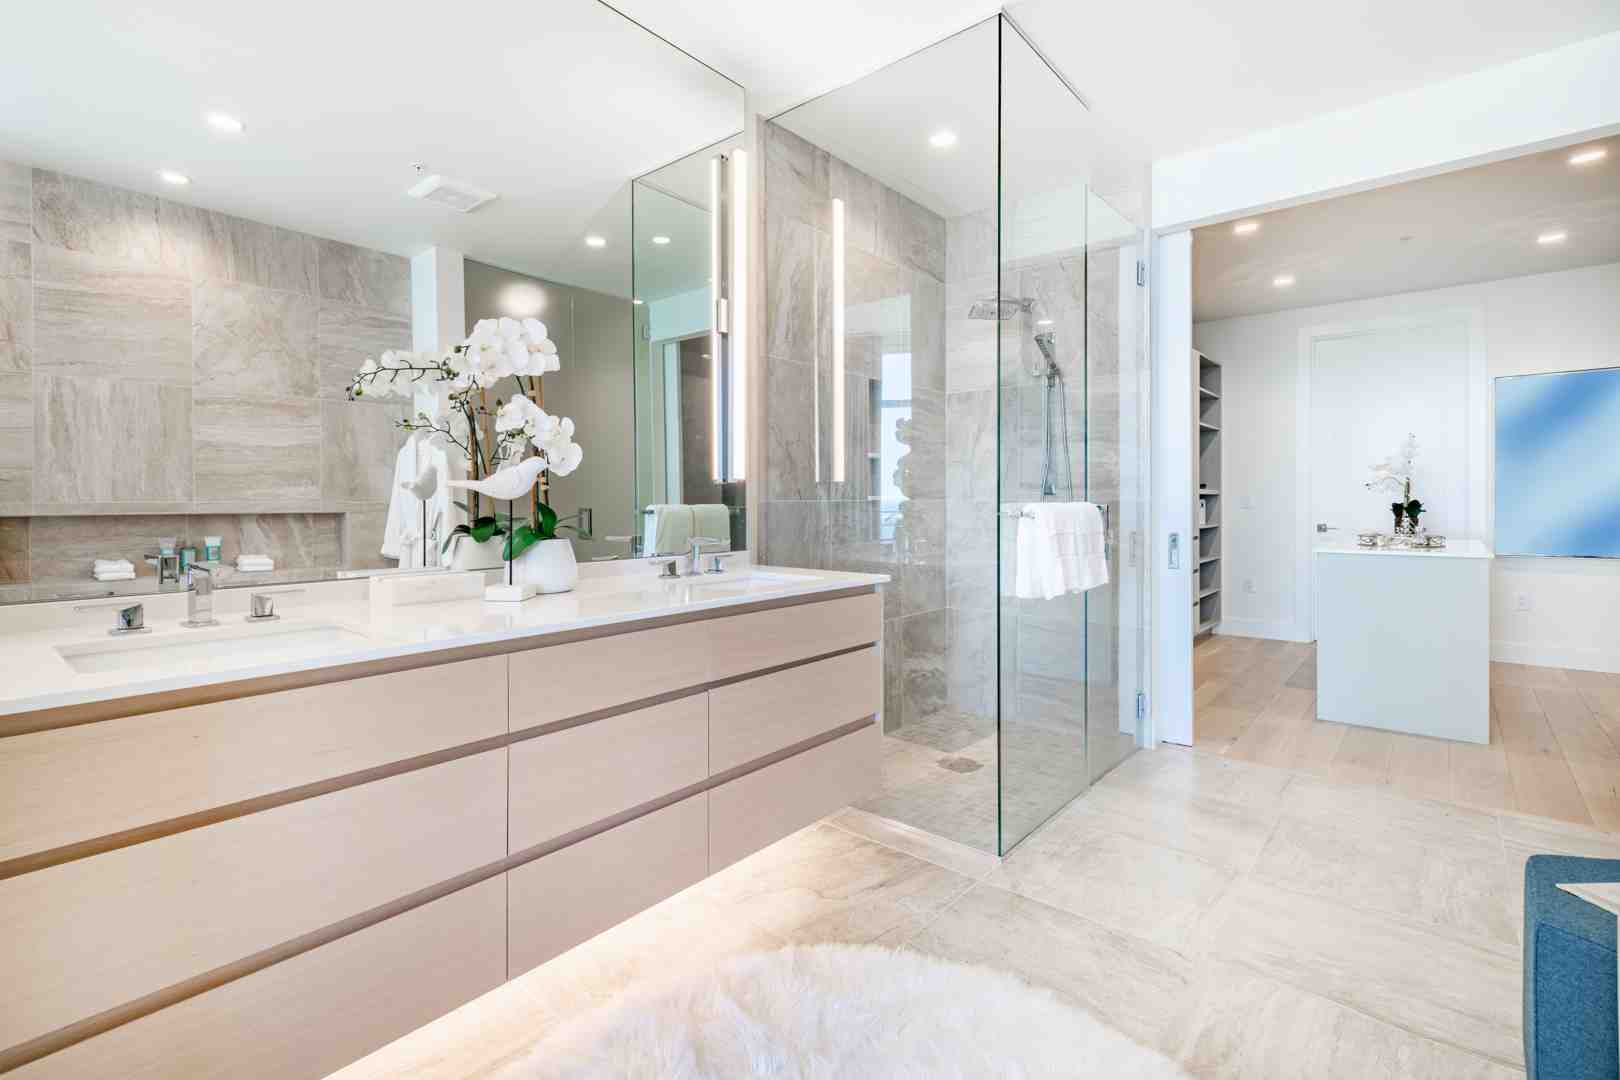
A successful bathroom remodel depends on more than attractive fixtures and finishes. Pipe condition, fixture placement, drainage, water pressure, and professional installation all affect the final result. Addressing these plumbing details before walls and floors are finished can prevent leaks, delays, unexpected expenses, and disruptive repair work later.
A bathroom upgrade can improve comfort, appearance, and daily convenience, but attractive finishes cannot compensate for poor plumbing preparation. Moving a toilet, replacing a bathtub, adding sinks, or installing new faucets may require changes to water lines, drains, and fixture connections. Careful planning for bathroom plumbing for remodel projects helps uncover hidden leaks, corrosion, clogs, and layout limitations before construction begins. It also allows homeowners to coordinate plumbing work with flooring, cabinetry, walls, and other improvements. Completing the essential checks in the correct order can protect the renovation budget and help the remodeled bathroom function reliably for many years.
1. Inspect the Existing Plumbing Before Demolition
The first step is checking the condition of the bathroom’s existing plumbing. A professional inspection can reveal leaks, corrosion, weak connections, slow drains, or outdated parts before they are hidden behind new finishes.
Once fixtures are removed, hidden issues like moisture damage, soft flooring, or mineral buildup may become visible. These should be fixed before installing new cabinets, tile, or drywall.
The inspection also confirms whether current pipes and drains can handle the new fixtures. Reusing good plumbing can save money, while replacing damaged sections early helps avoid future repairs.
2. Confirm the Fixture Layout Before Work Begins
Changing the location of a toilet, sink, shower, or bathtub can significantly affect the plumbing plan. Even small layout changes may increase labor and construction needs since drains and vent pipes are harder to move than water lines.
Finalize fixture sizes and positions before work starts. New fixtures like a freestanding tub, wall-mounted faucet, or larger shower may require different connections, so product details help ensure accurate plumbing placement.
Also consider how doors, cabinets, and shower enclosures will function around the layout. Early planning helps avoid costly changes after installation begins.
3. Evaluate Drainage, Venting, and Water Supply
Bathroom fixtures need properly sized drains, venting, and a reliable water supply. Poor drainage can lead to clogs, odors, or slow emptying, while bad venting may cause sewer gas issues.
Water pressure and pipe condition also matter. Low pressure, corrosion, or undersized lines can affect performance, especially when adding or changing fixtures.
This step is crucial for remodels like adding a sink or updating a shower. Professional bathroom plumbing for remodel projects can confirm if the system is adequate or needs upgrades before walls are closed.
4. Choose Fixtures That Fit the Plumbing System
Fixtures should match both the space and the existing plumbing. Faucets, toilets, sinks, tubs, and shower components must fit your layout and household needs.
Always check installation requirements before buying. Some fixtures need special valves, reinforcement, or specific water pressure, and ignoring these details can lead to costly changes.
Quality is also important since bathroom fixtures are used daily. Choose reliable products with good warranties, and share product details with your plumber early so connections are prepared correctly.
5. Complete Professional Installation and Testing
Plumbing installation should be coordinated with demolition, framing, electrical work, waterproofing, cabinetry, and finishing to avoid delays or rework.
Before walls and floors are sealed, the plumber should inspect and test the system for leaks and proper drainage. All fixtures—valves, faucets, toilets, and showers—must work correctly after installation.
Testing should never be skipped, as hidden leaks can cause serious damage. Professional installation also ensures all connections meet required standards.
Key Takeaways
A dependable bathroom remodel begins with plumbing preparation, not tile or fixture colors. Inspecting existing pipes, confirming the layout, evaluating drainage and water supply, selecting compatible fixtures, and testing professional installation can prevent costly problems after the room is finished.
Finalize product choices early and share their specifications with the plumber. Address leaks, corrosion, clogs, weak pressure, and damaged connections before covering them with new surfaces. Avoid changing fixture locations after rough plumbing begins, since late revisions can affect the schedule and budget. Testing every connection before walls and floors are closed provides an important final layer of protection. Well-planned bathroom plumbing for remodel projects ensures that sinks, toilets, tubs, faucets, and showers work as intended. Completing these five steps can produce a bathroom that looks polished, performs reliably, and remains easier to maintain over time.
Apart from that, if you want to know more about Enhance Your Outdoor Space with Garden Stones and Decorative Aggregates then visit our Home Improvement category.
